
Adding and Customizing AI Content Badges
Apply visible AI usage labels to supported content and archives, then control text, icons, colors, placement, dragging, and shadows.
Product boundary
This guide explains plugin configuration. It does not provide legal advice or certify compliance.
When to use this guide
Use this guide when you need to add AI Content Badges to posts, pages, WooCommerce products, the assigned Shop page, or supported public taxonomy archives, or customize their appearance and placement across the site.
Add a badge to a post, page, WooCommerce product, or Shop page
- Open the editor for the post, page, WooCommerce product, or assigned Shop page that you want to label.
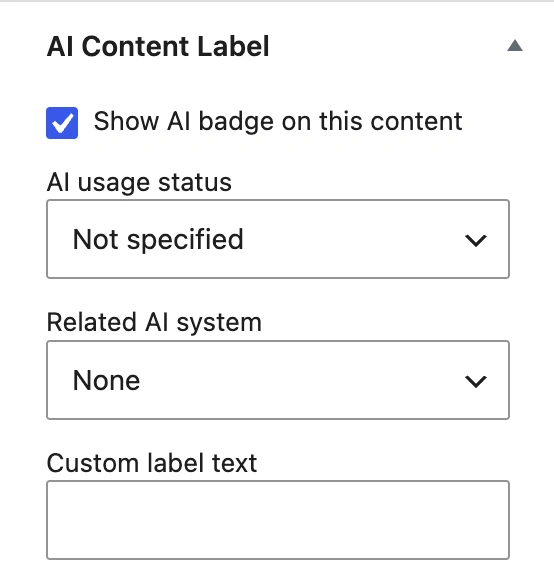
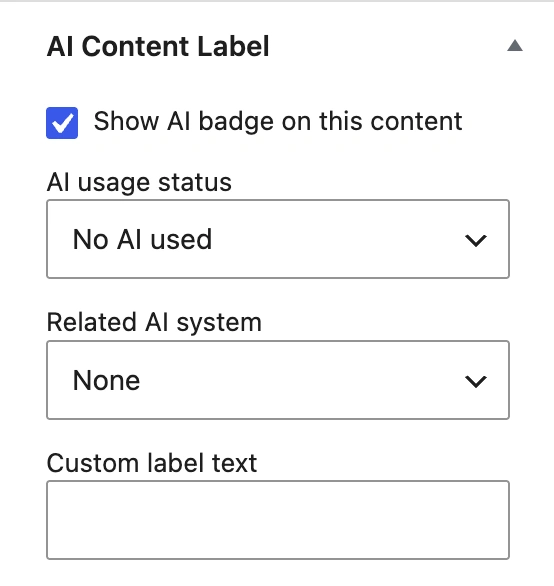
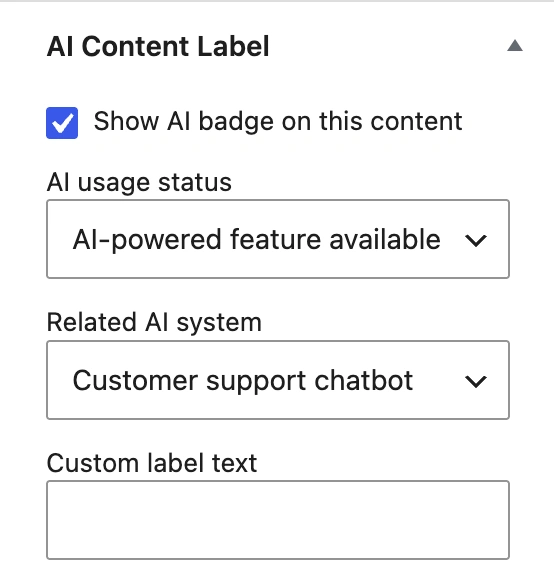
- Find the AI Disclosure Settings panel.
- Enable the AI content label for the current item.
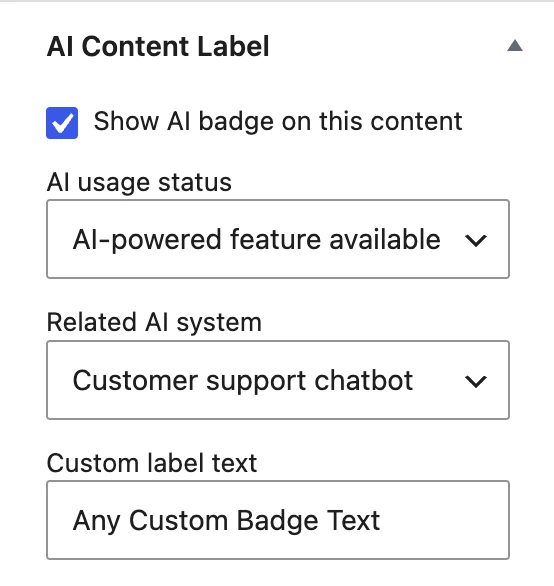
- Choose the AI usage status that accurately describes the content. Available statuses include: No AI Used; AI-assisted; AI-generated; AI-generated, human reviewed; AI-powered feature available; and Not specified.
- Optionally select a related Active AI system.
- Optionally enter custom badge text for this item.
- Update or publish the content.
- Open the frontend page and confirm that the badge appears as expected.
When configuring the page assigned as the WooCommerce Shop page, verify the badge on the frontend Shop archive because WooCommerce uses that page differently from a standard WordPress page.
Select AI-generated, human reviewed only when human review has actually been performed. The plugin records the administrator’s selection but does not verify the review process.
Add a badge to a taxonomy term
AIVOW Lite can also assign badges to supported taxonomy terms and display them on the corresponding public archive pages.
- Open the relevant taxonomy term editor, such as a category, tag, product category, or product tag.
- Find the AI disclosure fields.
- Enable the label and choose the appropriate AI usage status.
- Optionally select a related Active AI system and enter custom badge text.
- Save the term.
- Open the public archive page and confirm that the badge appears.
Customize global badge appearance
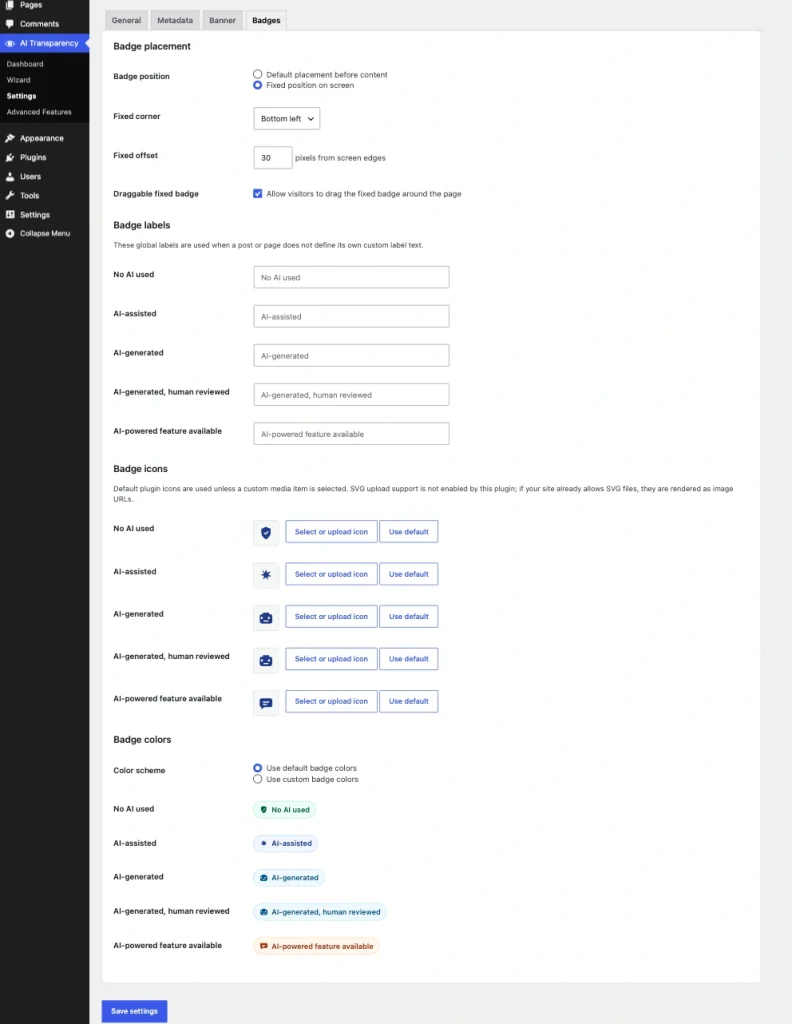
- Open AIVOW → AIVOW Settings → Badges.
- Review the default labels for each AI usage status.
- Configure global custom text where needed.
- Choose the default or custom badge colors.
- Adjust opacity and shadow settings.
- Choose the default icon or select a custom image from the WordPress Media Library.
- Choose inline or fixed placement.
- For fixed placement, select the corner and adjust the offset.
- Enable dragging only if visitors should be able to reposition the fixed badge.
- Save the settings and test the badge on desktop and mobile.
AIVOW Lite does not enable SVG uploads. If the site already permits SVG media, the selected file is rendered as an image URL rather than as administrator-provided inline SVG markup.
When using a custom icon, review its Media Library alt text. AIVOW Lite uses the attachment alt text first and falls back to the badge text when no attachment alt text is available.
Item-level custom text takes priority over global custom text. If neither is provided, the plugin uses the built-in label for the selected status.
When Lightweight AI Metadata is enabled, human-review metadata is used only for content assigned the AI-generated, human reviewed status. AIVOW Lite does not output that human-review flag for AI-assisted or No AI Used.
Dragging changes the fixed badge position only for the current page view. The dragged position is not persisted after the page is reloaded.
The following screenshots show the content-level badge fields and the global badge appearance settings.
Expected result
The selected post, page, WooCommerce product, Shop page, or supported taxonomy archive displays the configured AI usage badge. The badge uses item-level custom text when provided, then global custom text, and finally the built-in label for the selected status. Its appearance and placement follow the global badge settings.
Common mistakes
- Choosing a status that does not accurately describe the role of AI in the content.
- Enabling the badge but leaving the content unpublished or failing to save the changes.
- Expecting a related AI system to be selected automatically.
- Confusing item-level custom text with the global badge text.
- Applying colors that make the badge difficult to read.
- Using fixed placement without checking whether the badge overlaps navigation, cookie notices, chat widgets, or other interface elements.
- Testing the badge only on desktop.
- Assuming the plugin automatically detects whether content was created with AI.
Troubleshooting
- Confirm that the AI content label is enabled for the current content item or taxonomy term.
- Confirm that the content or archive is publicly accessible.
- Save or update the item after changing the AI disclosure fields.
- Check whether item-level custom text is overriding the global label.
- Review AIVOW → AIVOW Settings → Badges and confirm that the selected colors, opacity, and placement make the badge visible.
- If fixed placement is enabled, check whether another plugin or theme element is covering the badge.
- Test the page at desktop and mobile widths.
- Clear any active page, CDN, or optimization caches if the frontend still shows an older badge configuration.
- Temporarily test with the default icon and default colors if a custom icon or custom styling does not appear correctly.